
In this blog, we speak about how to replace a window. It is our goal at Five Seasons Windows not only to gain your business, but to inform you about how to do what we do so you DONT NEED our business!
We’re going to be providing a number of tips, tricks and how to blogs moving forward to teach you how to improve your own home!
In this blog, we’re going to be discussing how to replace a window in your home. On our difficulty scale of 1-10 for a homeowner, we’d rank this project a 6. Not the MOST difficult home improvement project, but one that should be handled seriously with guidance whenever needed. Follow our step by step process and you will have replaced windows in no time! Cheers from the Five Seasons team.
Our Step-By-Step Process On How To Replace A Window Yourself
- Remove the Old Window
- If you are replacing the whole window, consider using a stock replacement window. A stock replacement window is one that is pre-built and measured to certain stock sizes. With a stock replacement window, you may have to make a handful of adjustments to the frame, but the cost should be less than a custom made window for your home.
- By utilizing a crowbar, remove the entire casing, including the trim as well as the sill plate.
- Adjust the Window Frame
- After you have finished removing the window casing, you are going to want to make sure the headers and studs are both plum and square, and the frame matches the exact dimensions of the new window. In order to fit the dimensions, feel free to add new boards to the frame as well as remove part of the siding on the exterior. For further adjustments and insulation, allow about ¼ inch gap on all sides.
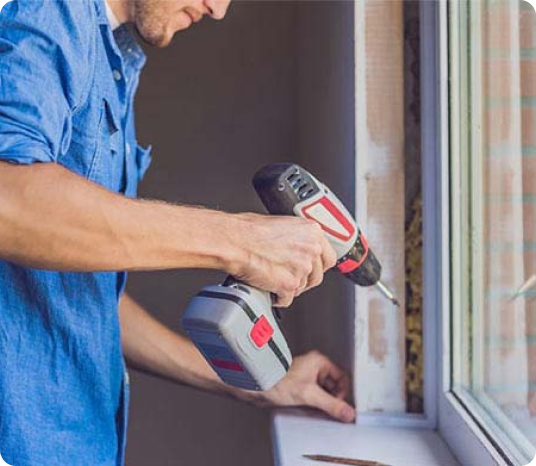
- Install the New Replacement Window
- Install the window from the outside of the home pushing up on the window until it is flush to the frame. Screw the window into place making sure you have the ability to attach it to a secure piece of wood. Adjust the window until it is square by maneuvering the individual screws and adding shims to any points that may need adjustment. When the window is in the best position from the exterior, secure it into place with nails or screws.
- Wrap the New Window
- After your window is square, plum, adjusted and nailed into its correct place, add a layer of window wrap around the fins of the window. Make sure to cover all the surface by overlapping the wrap.
- One of the biggest components is to keep moisture out. In order to do this, keep the wrap straight and flush to the window frame and do not let it crinkle or fold back on itself.
- Insulate the Window
- Put expanding-foam sealant in the gap between the casing and the window in order to insulate the new replacement window. To protect the surface, cover the window’s edges with painter’s tape. After the foam has dried, it is necessary to scrape it off with a knife.
- Be careful not to add too much foam, as it will bow the window and disable it from working properly.
- Replace the Trim and Casing
- After the foam has dried, cut the excess and install a new interior casing for the window. If necessary, replace your exterior trim.
- Give yourself a high-five and crack open a cold one!
If you have completed all SEVEN steps on how to replace a window, congratulations! If you struggled with any steps of the process, always feel free to give Five Seasons Windows a call. Our professional window installers have the skills, experience, and professionalism to accomplish any window related project.
It is our duty to serve you as well as educate! Whatever you may need in the world of windows and home improvement, think Five Seasons Windows.